Virtual PC 2007 is free software from Microsoft. You can get both a 32-bit and 64-bit edition here.
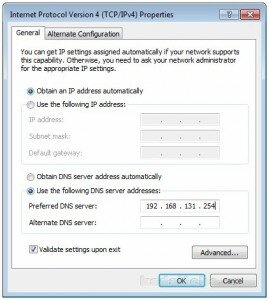
For those of you who don’t need a step-by-step walk-through for correctly setting up NAT in a virtual machine (VM), the solution to get NAT working inside the VM is to set the IPv4 DNS server to the virtual gateway’s IP address, 192.168.131.254.
Walkthrough
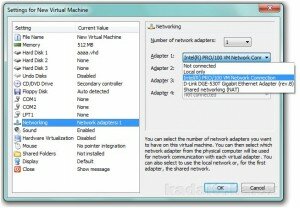
When you setup a new virtual machine for the Windows 7 the network adapter defaults to the first available network card, which is usually a built-in network card:
The easiest way of setting up networking with Virtual PC is to use Network Address Translation (NAT), which causes the Virtual PC to act as a gateway for the guest machine on the host machine; this works right out of the box for XP but not with Windows 7, where you will see the yellow problem icon and “No internet access” when you mouse-over it:
If you open the Network and Sharing Centre, Windows 7 indicates it can see the network but not the Internet:
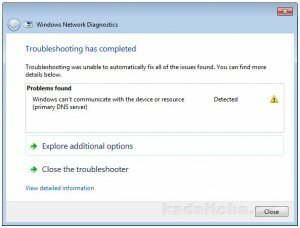
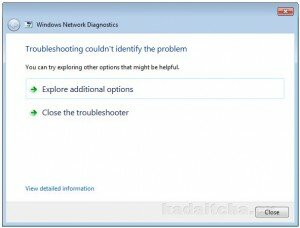
There’s no point running the network troubleshooter because it will only tell you what you already know, that there’s a problem it can’t fix, and there’s no point “exploring additional options” because there are none:
For security reasons Windows 7 will drop all Internet packets that did not originate from the source that Windows 7 requested the information from. In this case Windows 7 requests data from the Virtual PC virtual gateway, but the information is being returned by the host machine, and the host machine gets its information from your real gateway. So, because Windows 7 asked the Virtual PC gateway for data and it gets a reply from the very same gateway used by the physical computer, it drops the packets.
The fix is simple. Tell the guest operating system that its gateway is the Virtual PC gateway. 192.168.131.254 is the IP address of the virtual gateway used by Virtual PC. If you need a step-by-step guide, here it is…
Step 1:
In Control Panel\Network and Internet\Network and Sharing Center, select Change adapter settings:
Step 2:
Double-click the Local Area Connection:
Step 3:
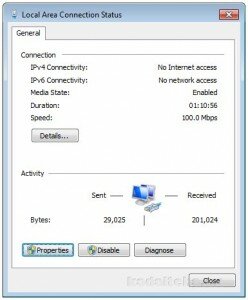
Click Properties on the Local Area Connection Status dialog:
Step 4:
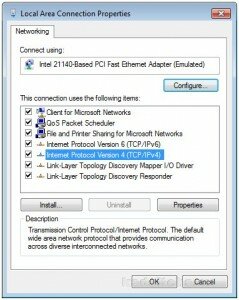
In Local Area Connection Properties, either double-click Internet Protocol Version 4 (TCP/IPv4) or click Internet Protocol Version 4 (TCP/IPv4) then click Properties:
Step 5:
Click Use the following DNS server addresses:
Type 192.168.131.254 in the Preferred DNS server field and check the box labelled Validate settings upon exit. You can close all the dialogs and Windows 7 will troubleshoot the network connection again whereupon it announces it can’t find a problem:
That’s it. All fixed.
